|
|
Other leg exercises
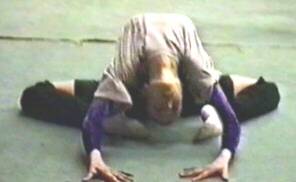
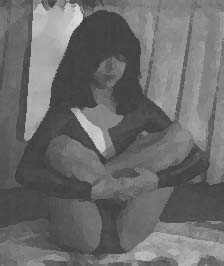
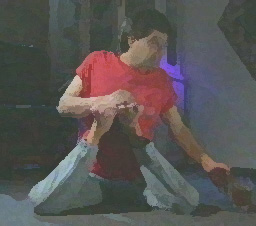
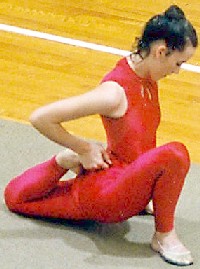
Exercise 1
Hip flexing exercise. Sit on the floor and cross the legs tightly as shown above. Place the hands on the feet.

To the count of 1-2-3-4-5 bend forward till you're resting on your legs. Repeat 20 times with each leg and in the last repeat hold for at least 30 seconds.
Tip: You can also try to lift up and out of the waist and twist. This will then make this a very good back exercise as well as leg exercise..Assisted: Have the assistant firmly push you down towards your legs and hold you there for at least 30 seconds. Repeat 20 times.
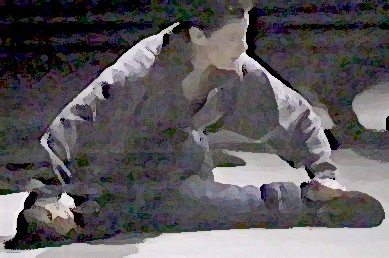
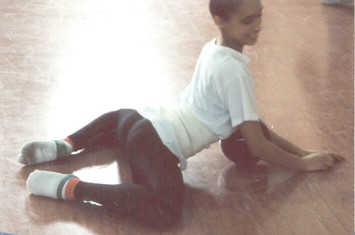
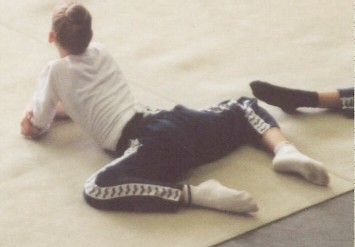
Exercise 2
Lie on the side. Now put one foot in front of your hip and lift yourself up with your arm as shown above. To the count of 1-2-3-4-5 gently bounce downwards and in time change to firmer and firmer bounces until your thigh is on the floor. Repeat 20 times with each leg and in the last repeat hold for one minute. Assisted: Have the assistant firmly push your hip down until it's hard on the floor and hold for at least 30 seconds. Repeat 20 times.
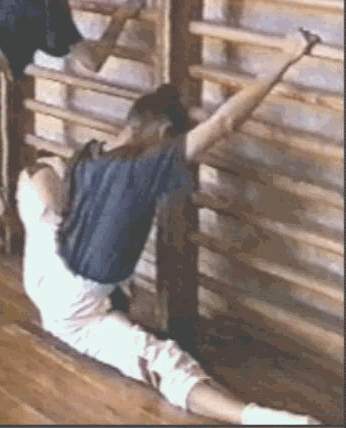
Exercise 3
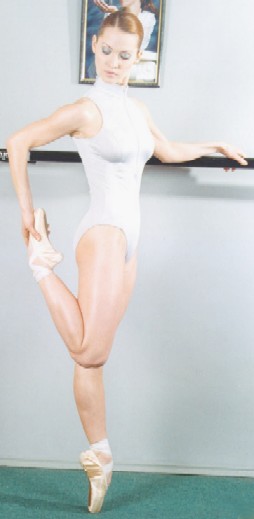
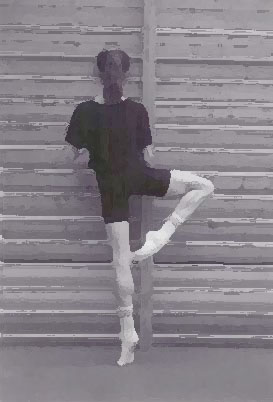
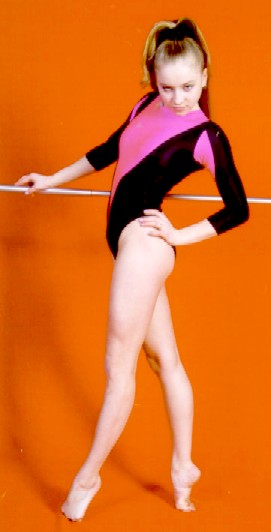
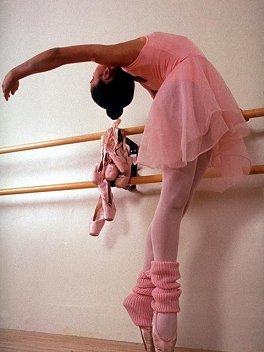
Stand by a barre, a chair or something else to hold on with straight back and legs. Bend your right knee as shown above and hold it by the foot with your right hand. With the hand push the foot towards your seat keeping a straight back and hips to the count of 1-2-3-4-5. Repeat 20 times with each leg. If you have advanced to doing the pointe exercises always do this exercise en-pointe.
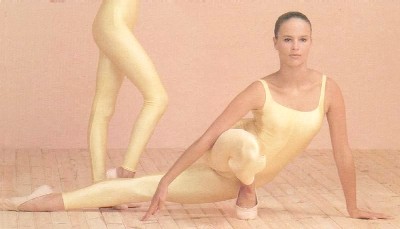
Exercise 4
Kneel with your knees apart. Lower back to the ground keeping your hips and body straight to the count of 1-2-3-4-5 until you're resting on your legs.

When you feel comfortable in the position move your feet a bit to the side as shown above and try to get your seat to the floor. Repeat 20 times and in the last repeat hold for at least 30 seconds.
Assisted: Have the assistant to push your upper thighs down and hold you there for at least 30 seconds. Repeat 20 times.
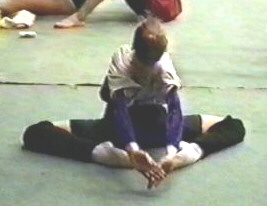
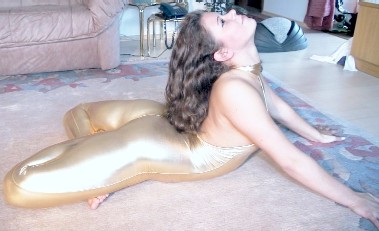
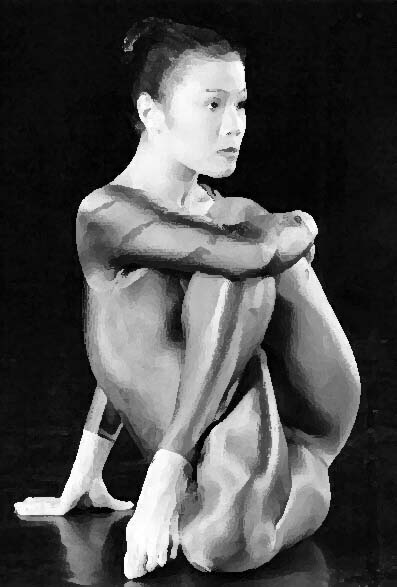
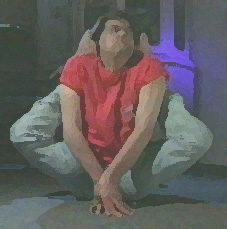
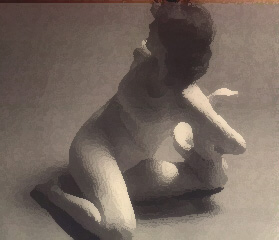
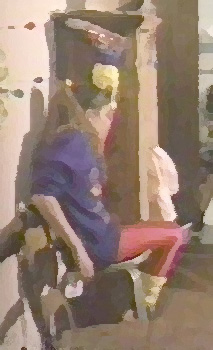
Exercise 5
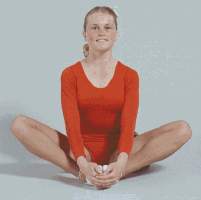

Hip flexing exercise.
Sit on the floor and pull both feet into the body with the soles of the feet together. Place the hands on the knees and to the count of 1-2-3-4-5 try to get the legs nearer the floor as shown above. Repeat the exercise 15 times. Tip: To increase the stretch bend forward.Assisted: Have the assistant push your knees til they reach the floor and hold for 30 seconds.
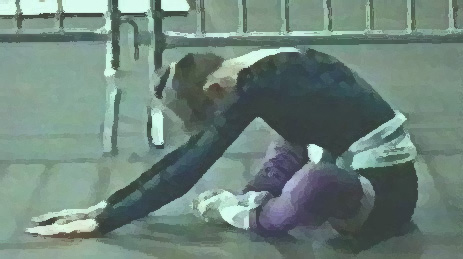
Now bend forward till you're resting on your legs for a count of 1-2-3-4-5. Repeat 20 times.

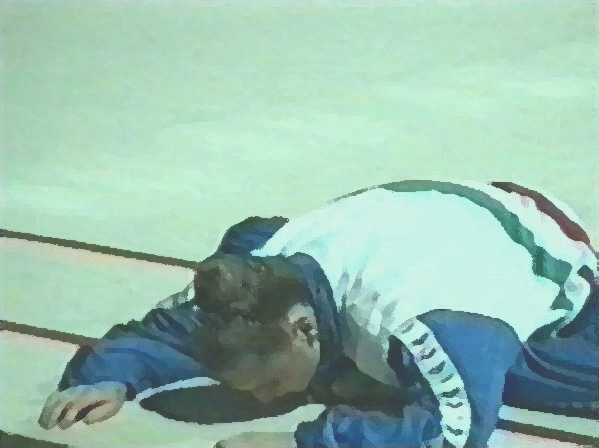
Assisted variation 1: Have the assistant push your legs downwards by applying firm pressure on the knees and when they reach the floor as shown in the picture and then hold them there for 30 seconds. Now have the assistant push you forward till you're resting on your legs and hold you there for 1 minute. Repeat 20 times.

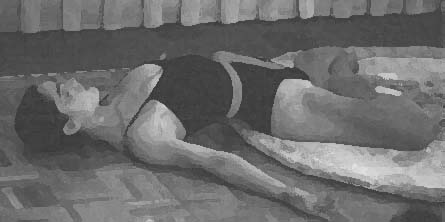
Assisted variation 2: Lie down on the floor and have the assistant push your legs downwards by applying firm pressure on the knees and when they reach the floor as shown in the picture and then hold them there for 30 seconds (you can also be sitting, but this way you'll get a better stretch). Repeat 20 times.
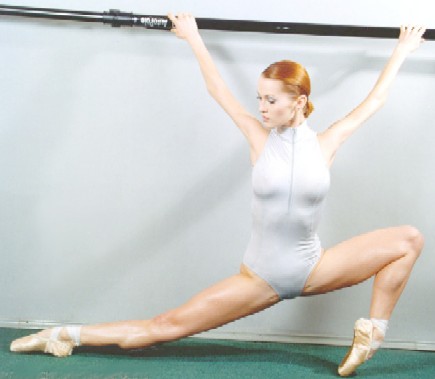
Exercise 6
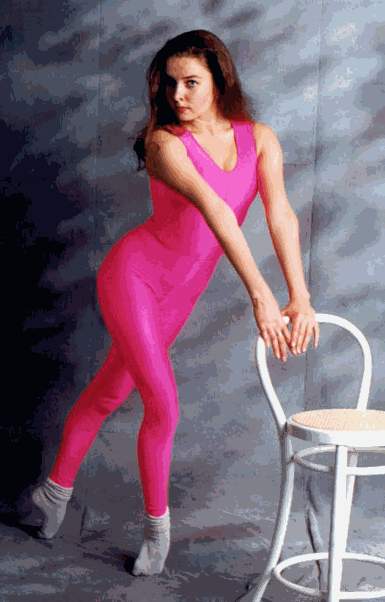
Standing at a wall barre or something similar with your feet apart.and turned out bend your knees so that they are in line with the hips as shown above. Hold yourself as close to the barre as possible.
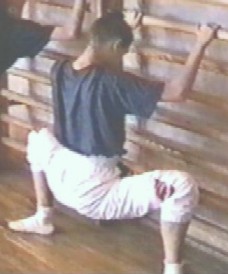
To the count of 1-2-3-4-5 bounc towards the floor trying to get as far as possible. At all time try to stay as close to the barre with your body and especially your hips. Repeat the exercise 20 times.
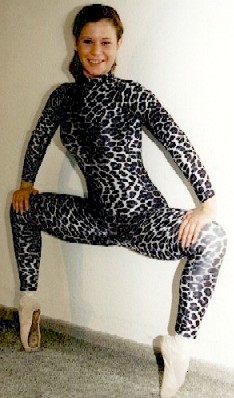
If you have advanced to doing the pointe exercises always do this exercise in the en-pointe position with the feet turned out. Preferably it should be done barefoot, but in the beginning you can use pointe shoes. If you are assisted then standing by a wall is recommended. The assistant should try to help you keep the hips square by applying pressure on your thighs towards the floor and the wall.


If you need some help with the balance have something, for example a barre, a chair to lean on or someone to assist you. To increase the pointe push your feet to the side, but without sliding on the floor. This way the flexibility will improve both in your hips and your feet.
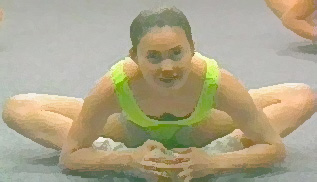
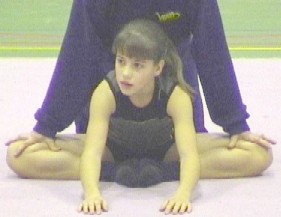
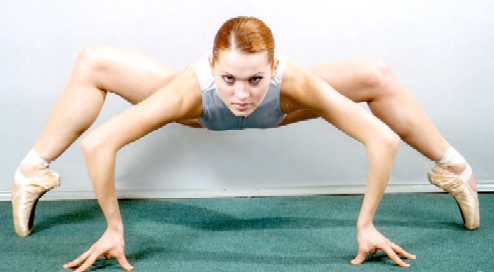
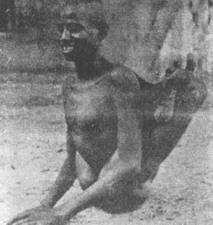
Exercise 7
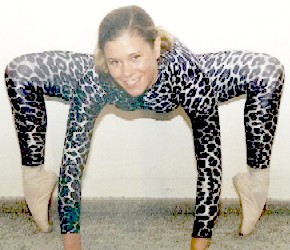
Hip flexing exercise (frog sitting). Facing the floor stand on all four and slide down as far as you can so that you sit in a split position with your knees bent as shown above. Now tension your muscles for 20 seconds and to the count of 1-2-3-4-5 try to slide down towards the floor till you rest on the floor. Keep the body flat on the floor, the hips square and the knees in line with the hips for as long as you can.
Assisted 1: The assistant should firmly push you down by applying pressure to your seat until the whole of your hips and legs are hard on the floor.
When you feel comfortable you can bend backwards as far as you can (how far depends of course on how far you've advanced with the backbends). This will increase the hip stretch and give you a very good back stretch. Remember to keep the hips square and the knees in line with the hips. Repeat the exercise 20 times.
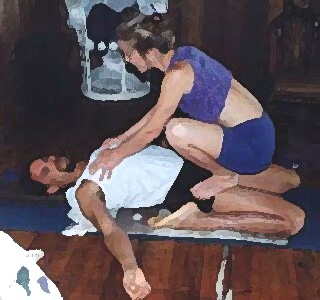
Assisted: Have the assistant keep your hip to the floor and help you bend backwards as much as possible and then hold for 30 seconds and repeat as many times as necessary. The picture above doesn't show this exactly, but it's an alternate variation of this assisted stretch if you can do the frog sit properly.
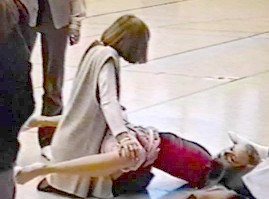
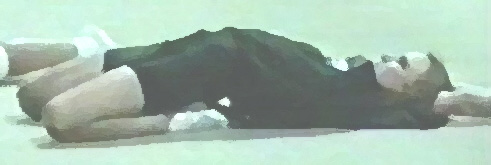
Assisted variation: Lie with your seat on the thighs of the assistant while the assistant firmly pushes your legs down, holds for 30 seconds and continues until reaching as far as possible and then holding for 1 minute at least. Because this muscles group rarely is stretched this will be painful the first times. Repeat this assisted stretch 20 times.
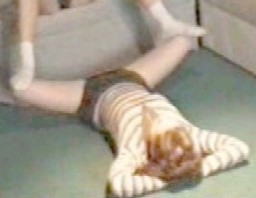
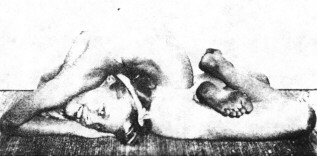
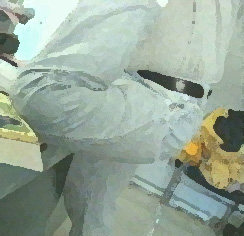
Assisted variation 2: Lie on your back as shown above with your feet towards or under a sofa for steadiness. Now have the assistant to put his feet on your knees and very firmly push your legs down until they are hard on the floor.
Your assistant now should hold the position for at least 1-2 minutes. Because this muscles group rarely is stretched this will be painful the first times. Repeat this assisted stretch 20, if possible twice a day.
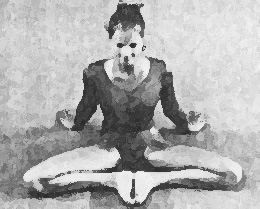
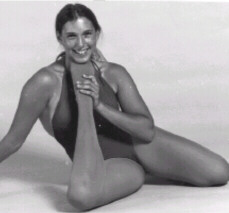
Exercise 8
This position is called the Lotus. Doing the lotus will improve your hip flexibility and help you with all the other leg exercises that include hip flexibility. You can sit in the lotus while doing any activity that requires sitting and on any kind of foundation like the floor, your chair, bed or couch. What is important is that you should do it as much as possible. The more you sit in the lotus position the easier and comfortable it becomes. You will very soon find that the lotus is a very comfortable position and then you should everyday sit in the lotus for at least for an hour per day, but preferably more without stopping and then change legs.

Sit in a regular cross-legged sitting position, take hold of your left foot with both hands and place it on your right thigh. The foot will turn slightly so that the sole is facing upwards
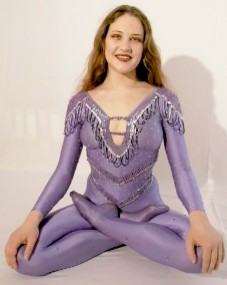
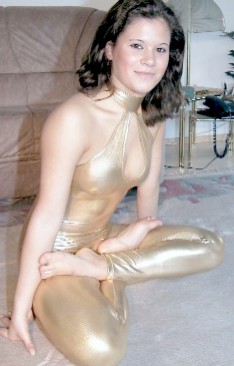
Now take hold of the right foot and bring it up onto the left thigh. This might be difficult so in the beginning you might only be able to put the first foot on your thigh, but don't give up. Remember to have the knees to the floor at all time. You will be able to do the lotus sooner than you think.
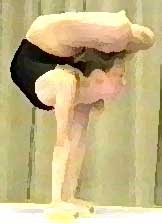
When you're able to sit in the lotus before doing the lotus variations below do as shown above. Cross your arms behind your back, reach your feet and grab them and pull the lotus as tight as possible for as long as possible. Do this as often as you can combined with the pointe exercises, since you also will need to stretch your feet to beyond the pointe. I also recommended to do the lotus wearing pointe shoes. The form of the shoes will make it easier for you to stay in the lotus and especially when you do different variations like the below.
Practicing the lotus in combination with pointe exercises as in exercise 7 will also help you to avoid getting arthritis in your legs.


When you're able to sit in the lotus for a while you should do different variations of the lotus like the ones shown in the examples above as well. When doing variations of the lotus having your legs locked in the lotus will increase the stretches of the hip joints and in some cases the back dramatically. The last one is a more difficult one. It will require you to dislocate your hips, but at that level this shouldn't be a problem. Doing the legs behind the head exercises and the lotus will help you to get there safely.
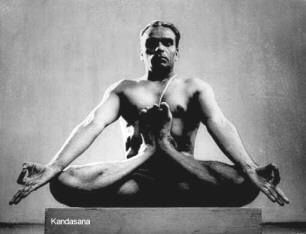
You can also use the lotus with all it's variations to improve advanced yoga asanas like the kandasana. This is a natural step when being able to sit in the lotus comfortably and the lotus with all it's variations is a good starting point together with all the oversplit exercises and especially dislocations. From the lotus it's especially easy to dislocate the leg that is lying on the thigh just by putting one hand on the thigh, grabbing the foot with the other hand and pulling it up very slowly, but firmly until the leg is pointing up in a vertical position. This is the easiest way to achieve kandasana and should be repeated at least 20 times or as many times as necessary with each leg till it's easy to do and preferably with assistance. The assistant should firmly pull the legs upwards and never stop until the leg is pointing up in a vertical position or beyond. Also don't be afraid to experiment. Your hip joints can take much more than you think. They are the strongest joints in the body.


Variations of pulling the leg up as mentioned above is shown above. All are however results of doing the lotus and pulling the leg up to a dislocated position in the end. The secret is not to stop... or have someone to assist you all the way till the hip is fully dislocated and the leg is fully pointing vertically.
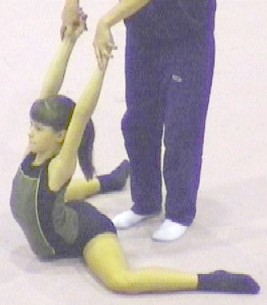
Exercise 9
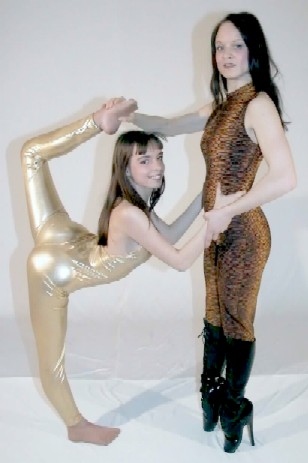
This position is called a vertical leg raise. It is advisable to do splits exercise 2 before. Sit on the floor in a comfortably balanced position. Raise one leg and hold the foot/ankle with the opposite hand and straighten it to vertical behind the shoulder of the raised leg. Hold for a 5 count then change legs. Repeat until you have done this 15 times with each leg.
Assisted: Have the assistant to raise the leg, straighten it and pull it behind your back towards the opposite shoulder.
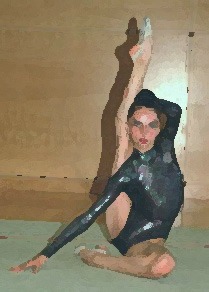
Exercise 10
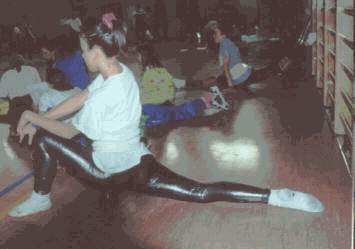
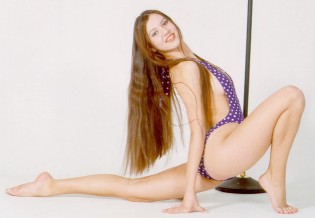
To the side: Get into the position shown above and try to reach down to the floor with small soft bounces. Then do a longer stretch for 15 seconds. Repeat 20 times increasing the time staying with 5 seconds for each repeat.
If you have advanced to doing the pointe exercises always do this exercise en-pointe. Try to put as much pressure as possible on the foot that is en-pointe.
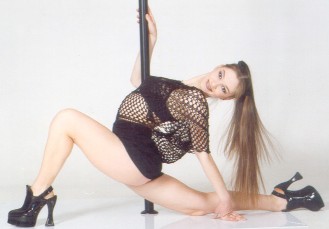
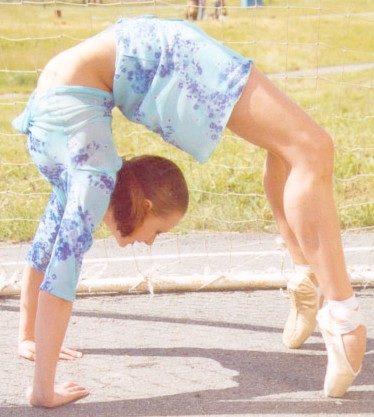
To the front: Get into the position shown above and try to reach down to the floor with small soft bounces while having your back straight and trying to reach backwards. When you reach as far down and backwards as possible do a longer stretch for 15 seconds.
If you have advanced to doing the pointe exercises always do this exercise en-pointe. Try to put as much pressure as possible on the foot that is en-pointe.
Increase the stretch bending by the knee of your rear leg and pushing your foot firmly towards your seat still trying to reach down to the floor with small bounces. When you reach as far down as you possibly can do a longer stretch for 15 seconds and repeat 20 times increasing the time staying with 5 seconds for each repeat.
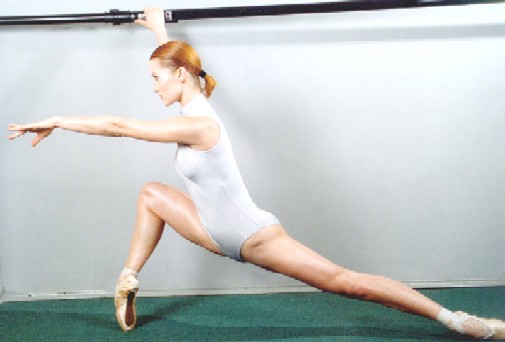
Exercise 11
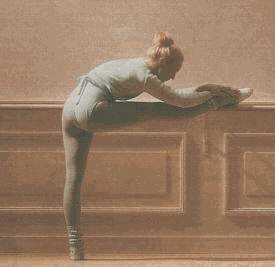
Stand in front of a barre or any furniture with a suitable height. Put one leg on it and bend forward till you can't reach further. Then hold for 30 seconds and release. Do 15 repeats with each leg.
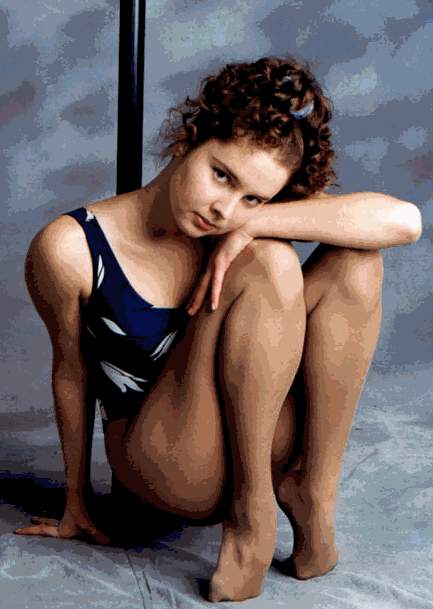
Exercise 12
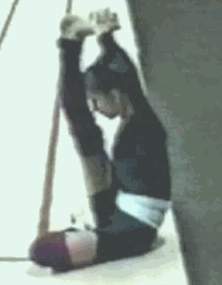
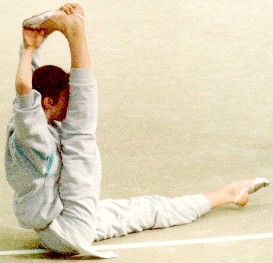
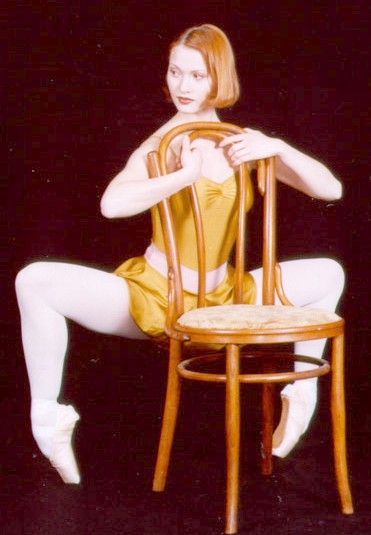
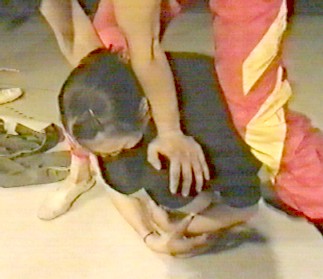
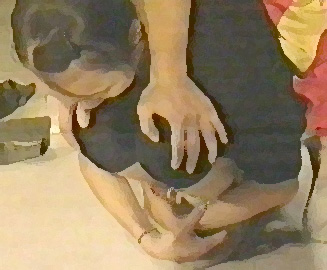
Sit with the leg that you're going to stretch with the knee bent in front of you. Then grab your foot and lift the leg as high up as you can trying to get closer to the face each time. Then hold for 30 seconds and release. Do 15 repeats with each leg.

When you can get your leg close enough to your face and feel comfortable with it you can also sit on a chair and use something, a wall, furniture as shown above, for support and to hold the leg in the position for as long as possible.
Assisted: sit with you back towards a wall and have the assistant to lift your leg up and hold for 30 seconds between each repeat.
Exercise 13
Many exercises demand that you grab your feet or toes and many times this will cause pain and discomfort if you don't stretch your feet and train pointe and the turnout. To avoid this you should always stretch your feet and toes pushing the leg to the front in the positions shown above. The foot must be stretched to at least 40-50 degrees beyond the (ballet) en-pointe position and in the starting position you should always start in the turnout (meaining your feet and legs should be turned out so that the toes point to the side or beyond that. This to improve the flexibility). For this you will need assistance in the beginning.
You should also do all the ballet positions (examples of some of them are shown above), the plie and turnout daily in addition to the exercises above, the pointe, since this increases hip and leg suppleness remarcably.
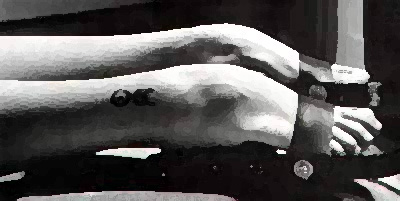
A photo of my feet turnout while waiting for the bus.
Always try remember to have the feet turnout and if possible beyond that as much as you can during the day.
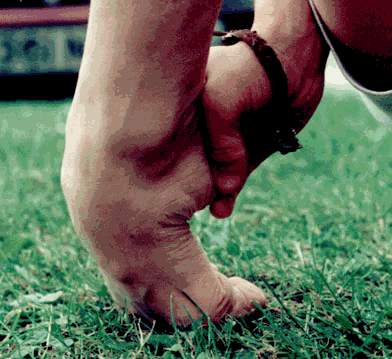
Henk stretching my foot beyond the pointe.
Assisted: Initially assisted stretches should be used. Have the assistant to push your foot towards the en-pointe position and then beyond it and downwards towards the floor as shown above. After that rotate the foot slowly but firmly in half circles first to the left and then to the right and slowly increase the stretch till it's not possible to go further. Believe it or not, but the foot can be bent several degrees more than what's shown on the picture. You might hear clicking and popping sounds, but don't worry. It's normal, because the foot consists of many bones. Do at least 30 repeats with each foot and in the last repeat hold for at least 1 minute with full pressure on the foot. This stretch can and should be done in any of the positions shown above.

Many ballet dancers, both men and women, wear aids like adjustable footbenders while relaxing or sleeping on a daily basis. Adjusting to them can take some time, but they are often recommended. However such equipment can't be bought in normal stores and must be ordered to be made by a craftsman.
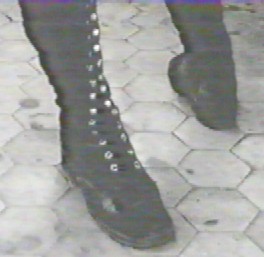
If you can't have footbenders made another very recommended method is wearing ballet boots. Read about this here.
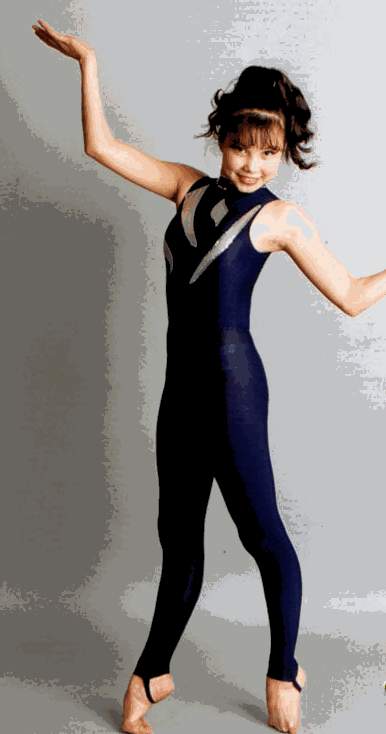
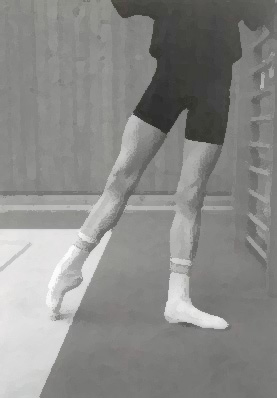
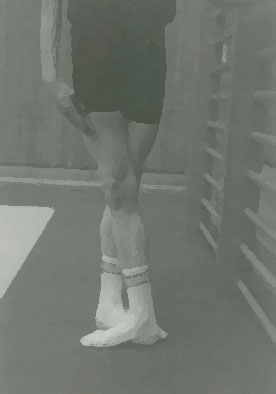
Walking around in en-pointe is probably something you imagine will be the "worst" part, at least in the beginning, but you'll learn to like it sooner than you think, because you'll learn both to endure much more and your pain treshold will become much better. I recommend to walk around and stand only in en-pointe position as shown above for at least 10 minutes in the beginning and then increase the amount of time the more you progress. Initially you will need to hold on to something. What is important is that you do this daily. Many ballet dancers walk in en-pointe bare foot for at least 30-45 minutes and then 2 hours with pointe shoes (around 30 minutes at the barre for warming up and then 120 minutes dancing). You'll also be able to do that in time. Pointe training will strenghten and stretch the calfs and get the feet and toes used to this position. The stretches mentioned above will also be improved a lot. In the beginning you'll probably need assistance or will need to hold on to something, a barre is a good suggestion, because this requires both strenght and a special walking technique very similar to the one seen in ballet and only training will get you there. Therefor you should always begin in the turnout, because this walking technique requires this! In time you'll even be able to comfortably jump en-pointe. Also stand in en-pointe as often as possible, for example when cooking or cleaning, doing exercises that can be made standing or other activities where you need to stand and roll your ankles as often as possible while watching TV and other times. Learning to stand en-pointe must be done bare foot.
Only wear pointe shoes
*) if it's necessary and only in the beginning of your training. If you're going to stand en-pointe for longer than 45 minutes in one row wear pointe shoes after the 45 minutes has passed. One example is if you do all the exercises, where possible, en-pointe (which is warmly recommended). If you use pointe shoes always stand en-pointe no matter whether you train pointe or do any of the other exercises that require standing. If you wear pointe shoes decrease the amount of wearing them the more you practice, but remember the time limit mentioned above. After some time you aren't supposed to use pointe shoes at all if you're to stand en-pointe below 45 minutes in a row.Also important to think of when training pointe is not to be too overweight. The toes must be able to hold your entire body weight, which is normally distributed to your whole foot. Therefor your diet in combination with your training is of importance from the day you start working on your pointe, because this will make things much easier for you the further you advance.
One situation that often occurs is that men, because of different reasons, often are negative to pointe training and especially in pointe training in pointe shoes. This however is a must and no matter what gender the person is it's fully accepted as the training gets more and more advanced, because of the necessity of pointe and turnout. This is also normal in ballet and often both men and women are required men to dance en-pointe during the whole act. In yoga contortion sport it's the same. Being able to stand en-pointe is necessary, since it both eases many exercises and improves the stretches.
*) If you're to wear pointe shoes make sure that they fit properly. The toes shouldn't overlap. Always put lamb wool in the front of the shoes. Bandaids on your toes, sterile gauze cut up an wrapped around the toes, karge gauze pads and silicon pads also are good. This is not only for your own comfort, but for the shoe to last longer. When putting it on always have the toes bent as much as possible so that you feel pressure against the upper side of the toes. Then tie the laces very tightly in pointe position. This way you won't damage the shoes.
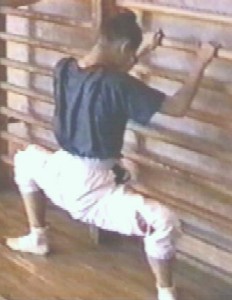
After practicing pointe always stretch your heels by doing the stretch above, preferably assisted. From standing on the floor bend your knees as much as you can towards a sitting position without lifting any part of the soles off the floor and hold for 30 seconds. Do 30 repeats or as many as necessary to be able to sit on your heels without lifting the soles of the floor. If you're assisted have the assistant push you down as shown above and hold you there as long as necessary.